Adding affiliate links to your blog post is a quick and easy way to monetize your blog. Making sure each post has at least 12 links is a good start, but if you really want to get serious about making money, strategically thinking about where to put affiliate links in your blog can make a difference! Check out our tips below to maximize your blog’s money-making potential:
Where to include affiliate links:
- Add links towards the start — Aim to include a good chunk of your links towards the start of the post. As much as we would love readers to reach the end of a post, their attention span can dwindle, so get your readers clicking as early on in the post as you can. You could try adding some links before your “read more” link or jump from the homepage, that way you will always have some links visible on the homepage before your readers have even clicked on the blog post! Another top tip for best performance is to include a widget below your first image or even a list of the items featured in the image.
- Finish up with some links — We recommend adding links to the end of your blog post too. This is the last thing your readers will see and your last chance to get them clicking! A good way of rounding off the post is a detailed list of the items mentioned in post.
- Think outside the blog — Don’t forget that affiliate links aren’t restricted to your blog post only! You could build widgets for your sidebar and perhaps add a “shop” page in your main menu for easily discoverable product inspiration. Features like this are always visible no matter what blog post your readers are browsing. This is often one of the greatest revenue drivers on a blogger’s site!


Aim to include 12 or more links per post. The more links you post, the more earnings you make! That might sounds like a lot of links, but remember that these links can be in different formats. By using a mixture of regular ShopStyle Collective affiliate links, widgets, and image links you’ll soon hit 12+ links.
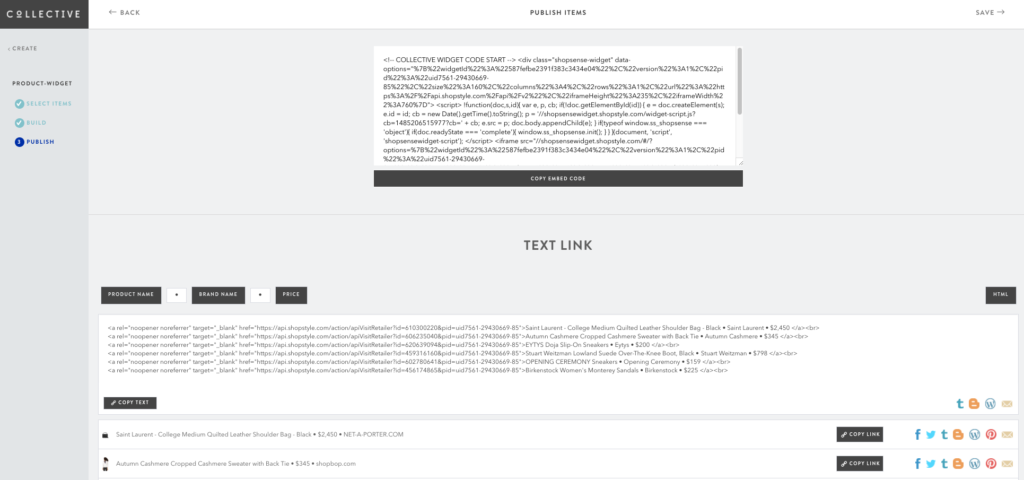
- ShopStyle Collective affiliate links — As well as dotted throughout the main body of your post, links work well under outfit images too. Underneath the image, try listing the key pieces in your outfit and similar items so users can easily click on their favorite pieces. An easy way of creating this list of links is by using our Text Link feature. If you have already built a widget for your outfit, our Text Link feature automatically creates a list of links from the products that are in your widget. Alternatively, check out our blog post on how to create links — there are a few different ways to create links, so choose what works for you. And remember to make these links SEO friendly! Your reader may know that “here” means a black ruffle skirt, but Google doesn’t! Spell it out and use a descriptive tagline. Belle of Capitol Hill Style know’s how it is done; check out her posts for some inspiration.
- Image links — You can put monetized links behind your images! Clicking an image is pretty intuitive, so this is a great way of monetizing your blog posts. Link images that feature an eye-catching piece, like a close-up of an accessory or a full outfit where one item really takes the spotlight, like a dress or jumpsuit. Check out our post on how to create clickable blog images.
- Widget — Add a widget below your first image including some similar products; give your readers a little bit of inspiration!
- Sidebar widget — To step it up a notch, add a sidebar widget. This will be visible on every page so has great money-making potential
Play about with these tips on your blog and see those earnings grow! Good luck!
xo,
Collective Team


Leave a Reply